Managing Targets
In this section, you will understand how to get started with the targets.
Searching for a Target
In this section, you will get to know how to search a specific target or targets.
To search for a target, do the following:
-
Login to the platform.
-
Click the Data module, and then click the Target Manager sub-module.
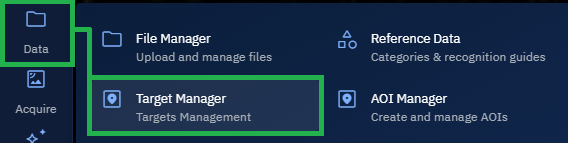
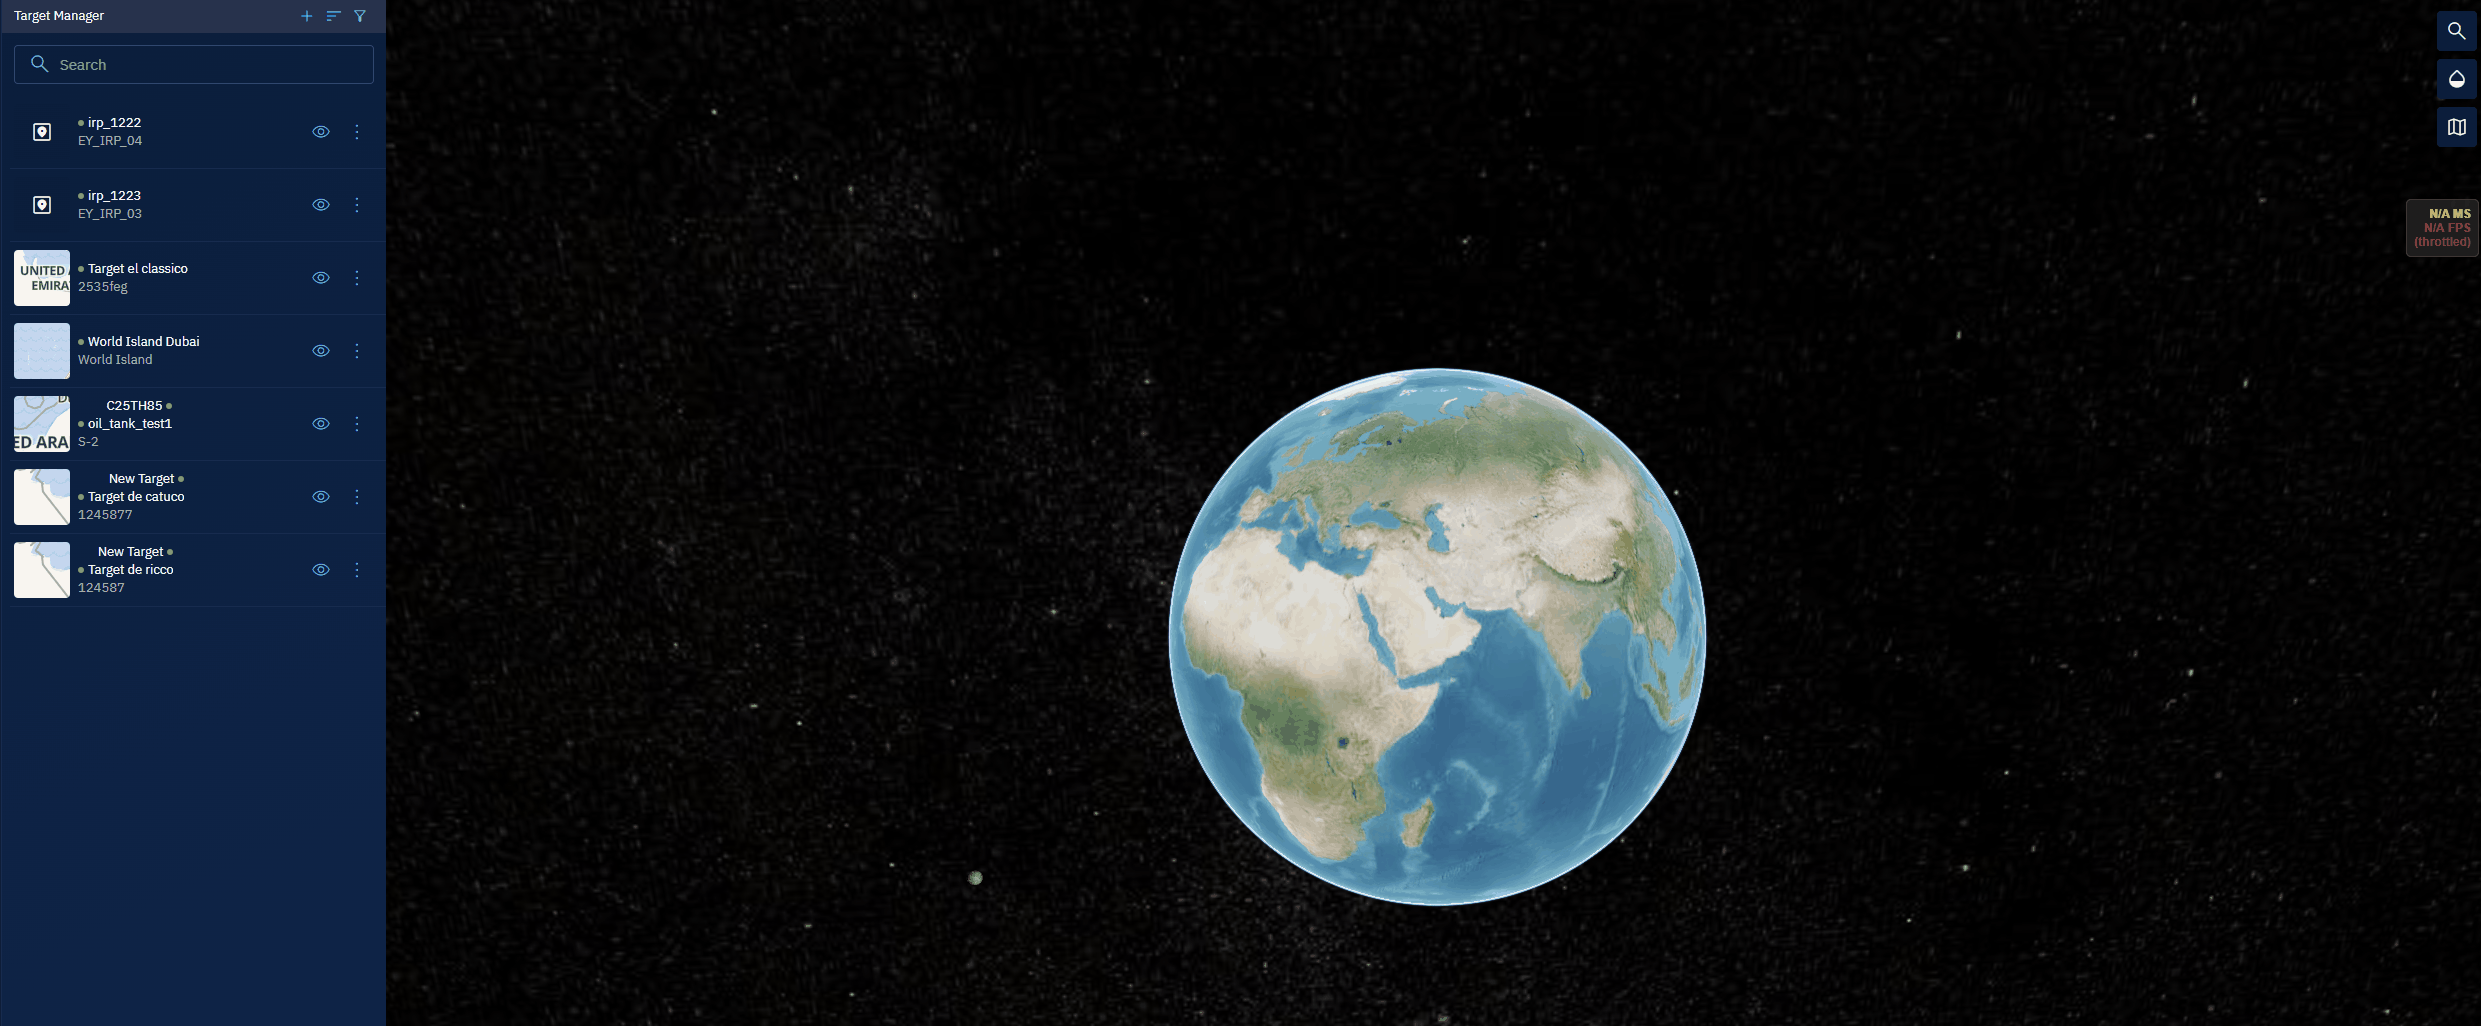
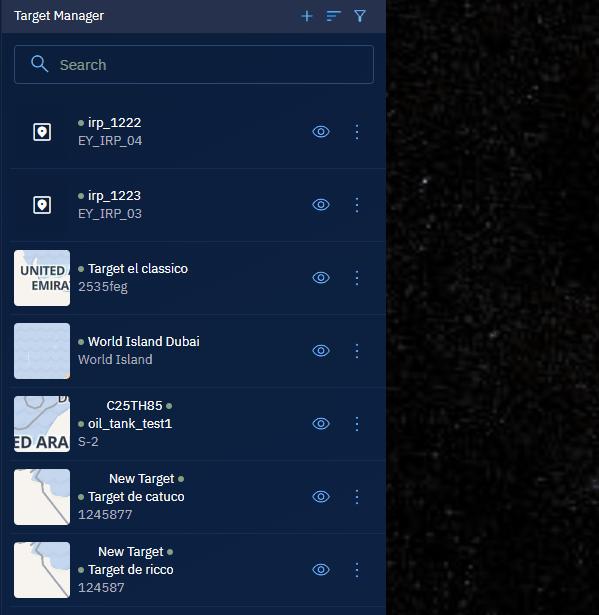
The Target Manager page is displayed.
- In the Target Manager page, under the Target Manager panel, type the target name or target id in the Search field. For example, C25TH85.
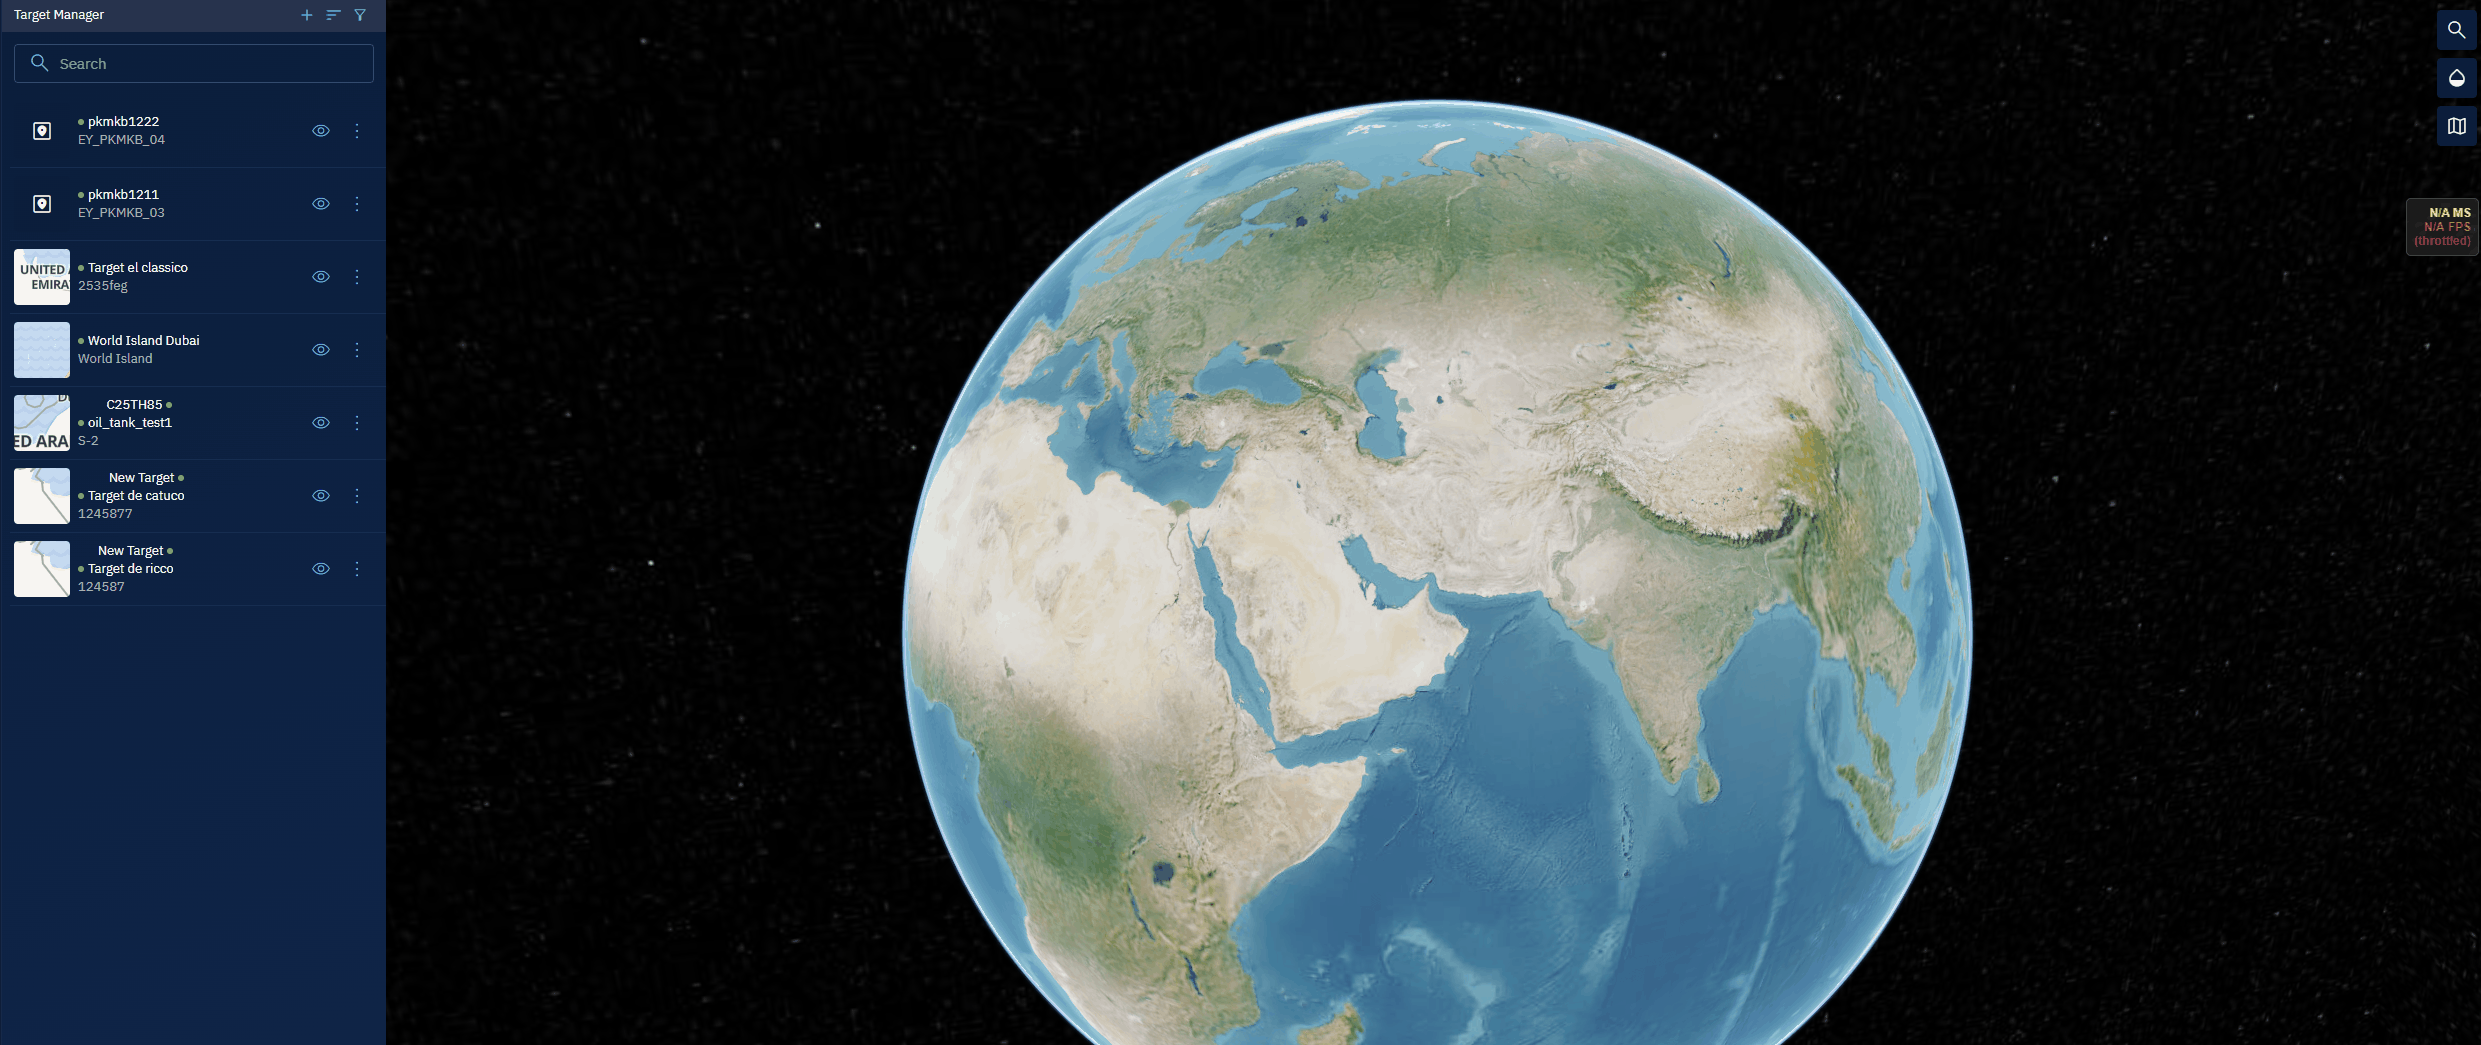
The platform displays the search results as you type the target name or target id.
Viewing Target Details
In this section, you will learn how to view various details of a target.
To search for a target, do the following:
-
Login to the platform.
-
Click the Data module, and then click the Target Manager sub-module.
The Target Manager page is displayed.
-
In the Target Manager page, under the Target Manager panel, select a target from the list.
The Target Information panel is displayed.
-
In the Target Information panel, view the following target details:
| Field Name | Description | Example |
|---|---|---|
| Name (EN) | Target name in English | Al Asad Airfield |
| Name (AR) | Target name in Arabic | قاعدة الأسد الجوية |
| Target ID | Unique identifier for the target | TGT_001 |
| Location | Geographic coordinates (Lat/Long) or grid reference | 33.7866, 43.1210 |
| Area of Interest | Broader region or operational zone where the target is located | Western Iraq AOI |
| Date Created | Date the record was created | 2025-07-08 |
| Created By | Name or ID of the person who created the record | Analyst_JSmith |
Zooming Into a Target
To zoom into a target, do the following:
-
Login to the platform.
-
Click the Data module, and then click the Target Manager sub-module.
The Target Manager page is displayed.
- In the Target Manager page, under the Target Manager panel, locate the target that you want to zoom into, click the vertical-three dots menu, and then select the Zoom into Target option.
The platform will zoom into the target on the map. It will also displays the Target Information panel which enables you to copy the exact location of the target.
Filtering Targets
In this section, you will learn how to apply filters individually or in combination to locate specific targets. You can narrow the list of targets based on status, creator, date, or area of interest.
To filter targets, do the following:
-
Login to the platform.
-
Click the Data module, and then click the Target Manager sub-module.
The Target Manager page is displayed.
- In the Target Manager page, under the Target Manager panel, click the Filter icon.
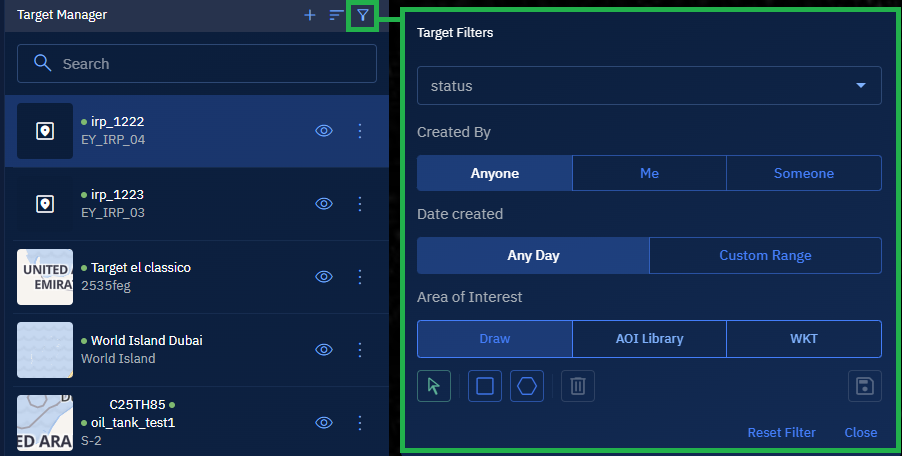
The Targets Filter dialog box is displayed.
- In the Targets Filter dialog box, do the following to filter Targets:
| Step | Action | Options |
|---|---|---|
| 4.1 Select a Status | In the Status drop-down list, select one of the following: |
|
| 4.2 Specify Who Created the Targets | In the Created By section, select one of the following: |
|
| 4.3 Filter by Date Created | In the Date Created section, select one of the following: |
|
| 4.4 Define an Area of Interest (AOI) | In the Area of Interest section, select one of the following: |
|
Sorting Targets
In this section, you will learn how to sort a target.
To filter target, do the following:
-
Login to the platform.
-
Click the Data module, and then click the Target Manager sub-module.
The Target Manager page is displayed.
- In the Target Manager page, under the Target Manager panel, click the Sort icon.
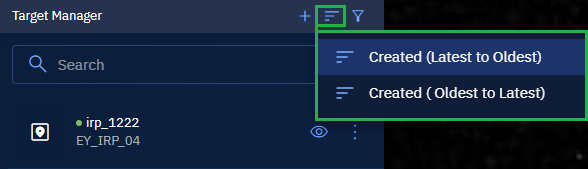
- Do one of the following to sort the list:
- Select the Created (Latest to Oldest) option to show the newest targets first.
- Select the Created (Oldest to Latest) option to show the oldest targets first.
The platform displays the targets list as per your selection.
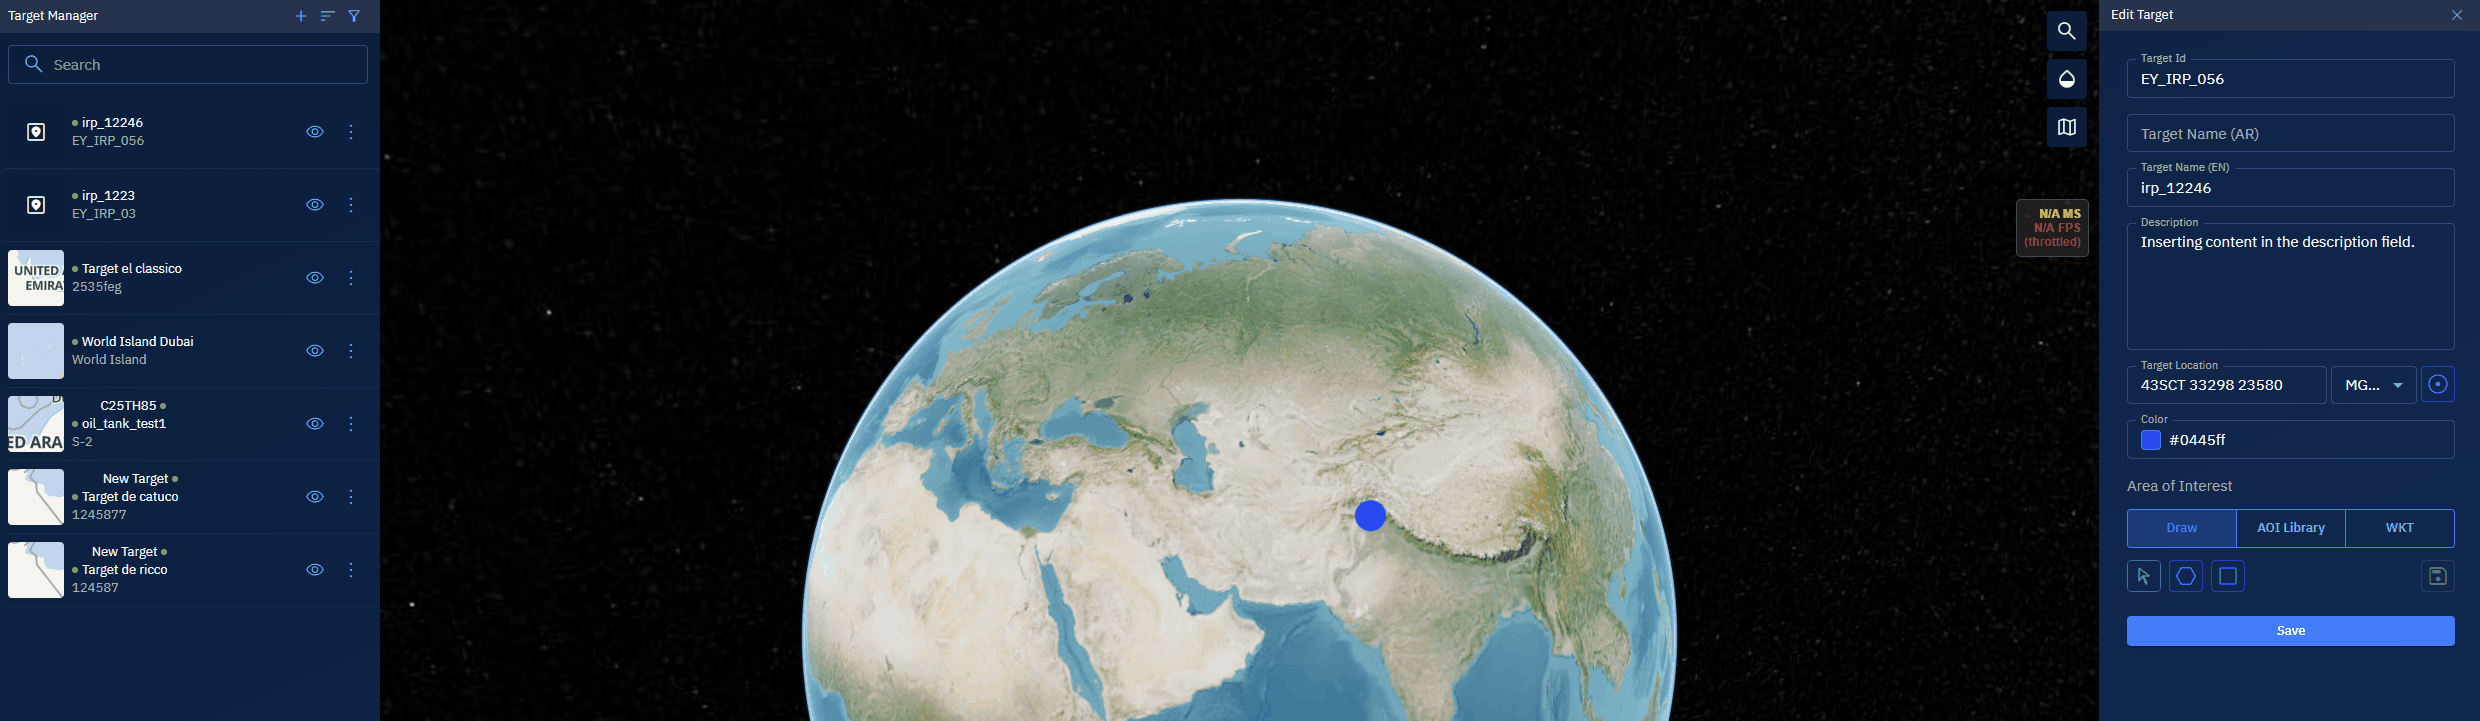
Editing a Target
In this section, you will get to know how to edit target details.
To edit a target, do the following:
-
Login to the platform.
-
Click the Data module, and then click the Target Manager sub-module.
The Target Manager page is displayed.
- In the Target Manager page, under the Target Manager panel, locate the target that you edit, click the vertical-three dots menu, and then select the Edit option.
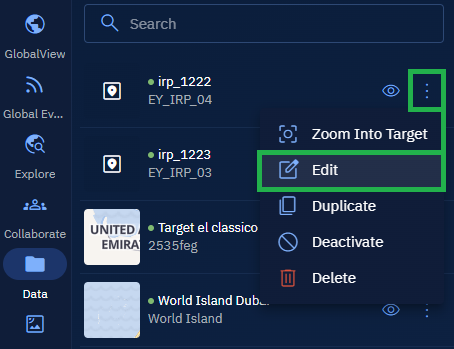
The Edit Target panel is displayed.
- In the Edit Target panel, make the necessary changes, and then select the Save button.
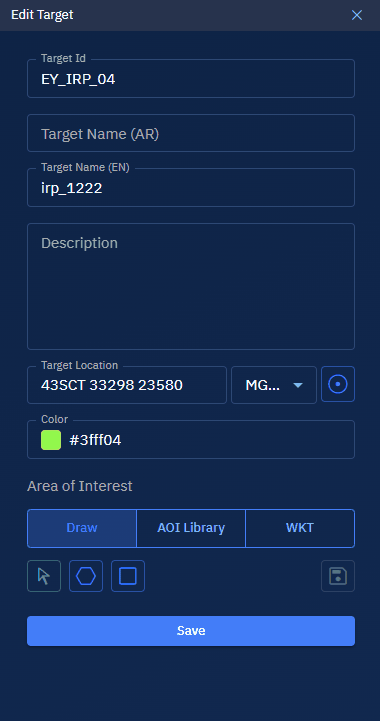
The target is updated successfully.
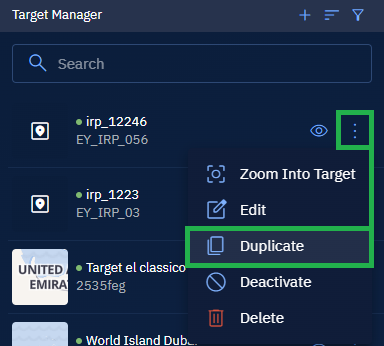
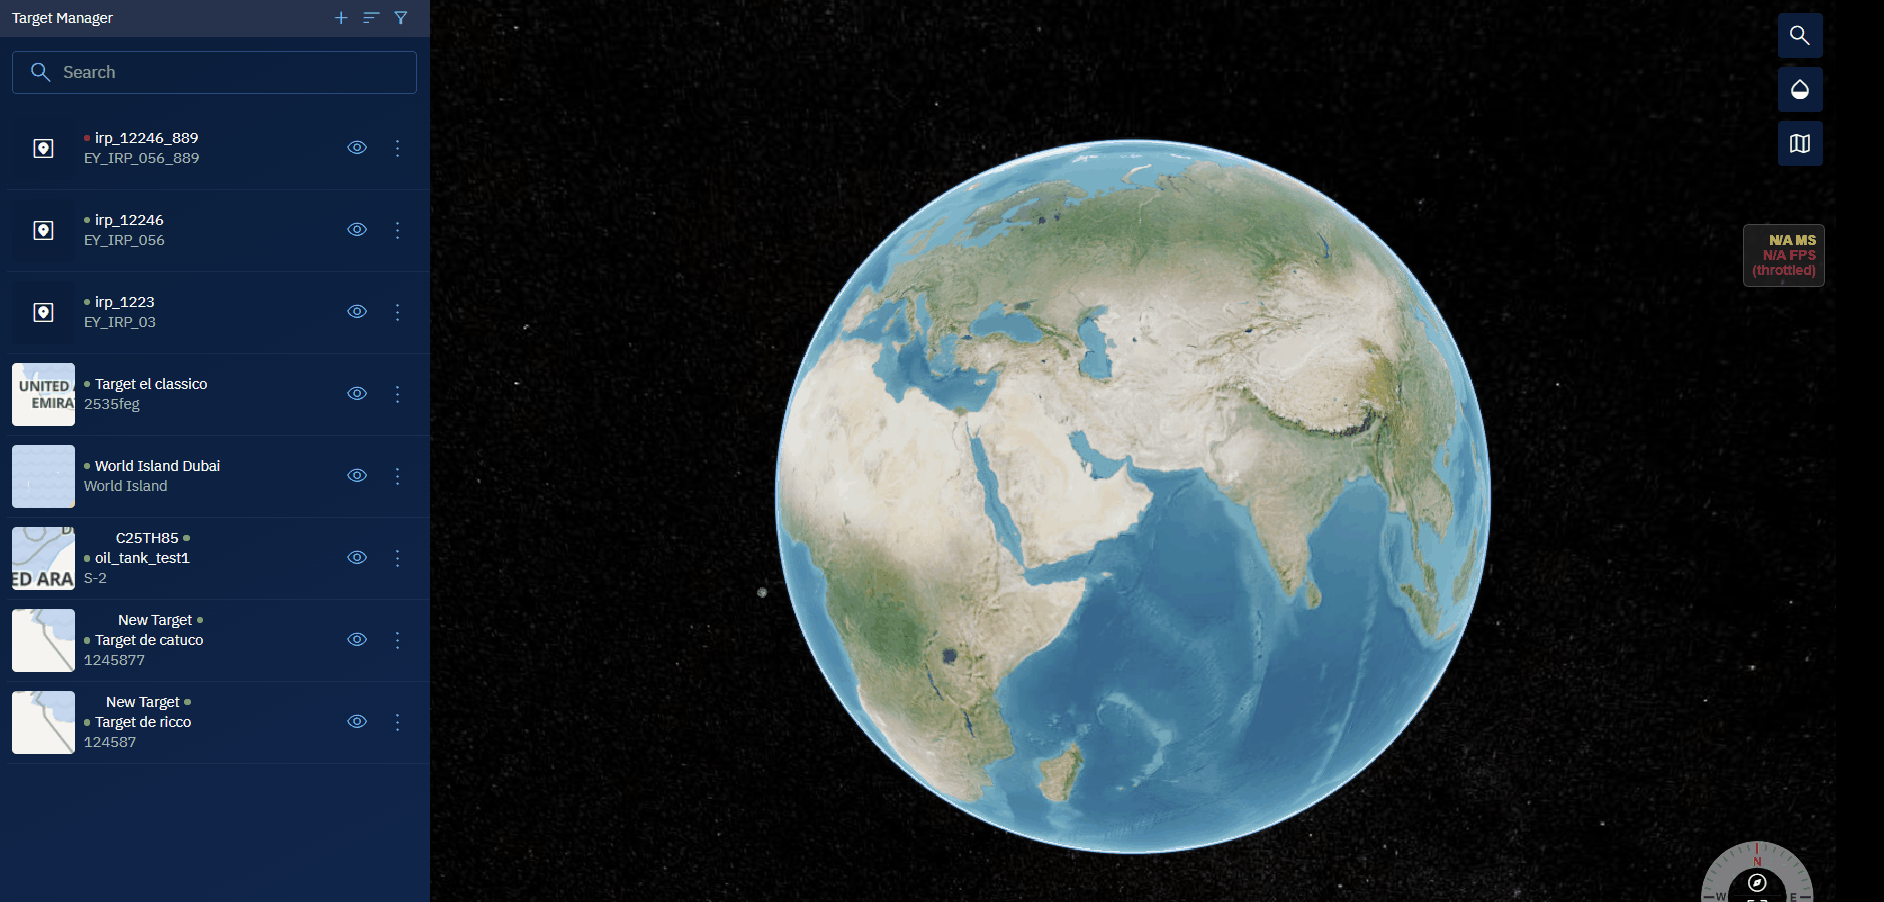
Duplicating a Target
In this section, you will get to know how to make a copy of a target.
To duplicate a target, do the following:
-
Login to the platform.
-
Click the Data module, and then click the Target Manager sub-module.
The Target Manager page is displayed.
- In the Target Manager page, under the Target Manager panel, locate the target of which you want to make a copy, click the vertical-three dots menu, and then select the Duplicate option.
The Edit Target panel is displayed.
- In the Edit Target panel, change the target id and the target name and then click the Save button.
The platform creates a copy of the target with a new target id and target name.
Deactivating or Activating a Target
In this section, you will learn how to mark a target as active or inactive in the platform.
To deactivate or activate a target, do the following:
-
Login to the platform.
-
Click the Data module, and then click the Target Manager sub-module.
The Target Manager page is displayed.
- In the Target Manager page, under the Target Manager panel, locate the target that you want to deactivate or activate, click the vertical-three dots menu, and then do one of the following:
- Select the Deactivate option if you want to mark a target as inactive.
- Select the Activate option if you want to mark a target as active.

Deleting a Target
In this section, you will learn how to delete a target from the platform.
Once the target is deleted, you cannot retrieve it. The target is permanently deleted from the platform.
To delete a target, do the following:
-
Login to the platform.
-
Click the Data module, and then click the Target Manager sub-module.
The Target Manager page is displayed.
- In the Target Manager page, under the Target Manager panel, locate the target that you want to delete, click the vertical-three dots menu, and then click the Delete option.
The Delete Target confirmation dialog box is displayed.
- In the Delete Target confirmation box, click the Delete button to confirm that you are permanently removing the target from the platform.
The target is successfully deleted from the platform.